The purpose of this post is to guide you on how to set up syslogging on a Cisco ASA firewall so you can ship your logs to a centralized log server like the ELK stack (Elasticsearch, Logstash and Kibana). This configuration guide is done using the ASDM (GUI).
Here is an example of what a Cisco syslog looks like…
%ASA-4-106023: Deny tcp src outside:109.230.217.95/24069 dst inside:164.32.112.125/25 by access-group "PERMIT_IN" [0x0, 0x0]"
The Cisco message above shows that the IP of 109.230.217.95 was denied access to a blocked SMTP port based on the access group “PERMIT_IN” for the public IP address of 164.32.112.125.
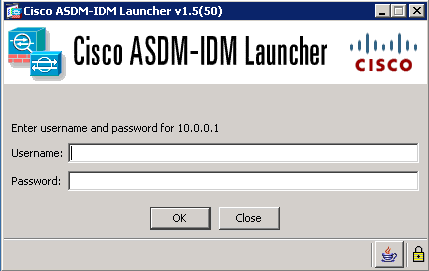
Here are the settings to tell our Firewall to send syslogs to our centralized log service. Open up your ASDM and log into your firewall.
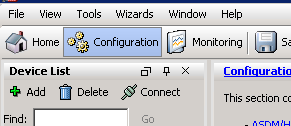
Click the configuration button on the top
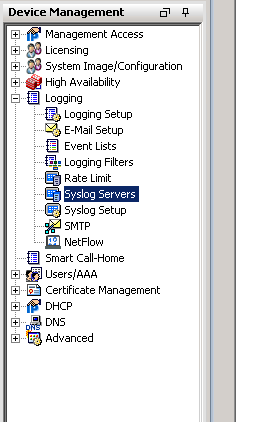
Click “Device Management”

Expand “Logging” and click “Syslog Servers”
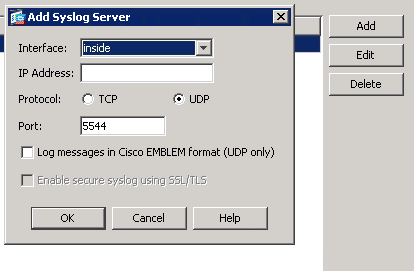
On the right side click “Add”, choose the inside interface, type in the IP of the machine you want to ship logs to, select UDP, type in your port and click OK.
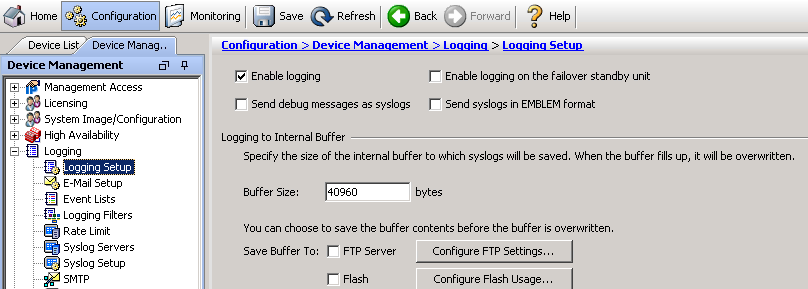
Click “Logging Setup”, select “Enable logging” and click apply.
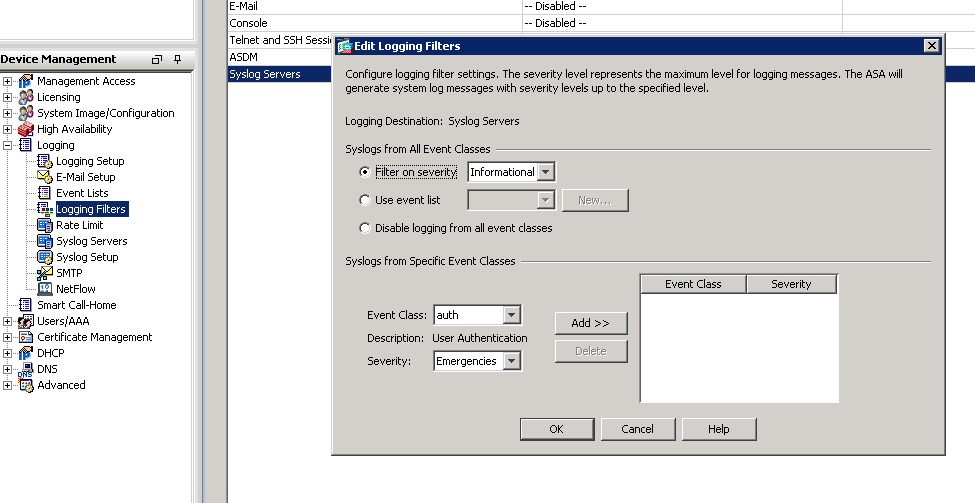
Click “Logging Filters”, double click “Syslog Servers”, check “Filter on severity”, select the type of logs you want to receive and click OK.
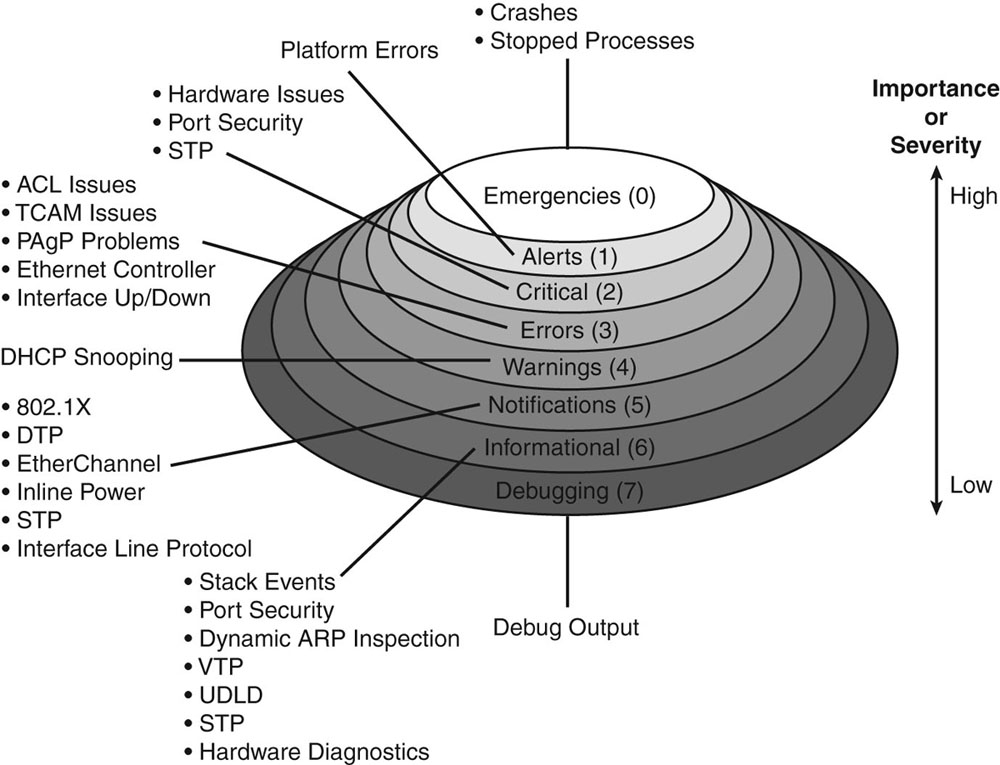
Here is an explanation of the different logging levels with Cisco products.
Now just save your running config to the startup config and you will now start seeing your logs on your centralized log server.